Customer Statement: review receivables
Generate a customer statement or an all-customer view.
2 min read · 5 steps
Where to go
Reports → Customer Statement
Step by step
- 1
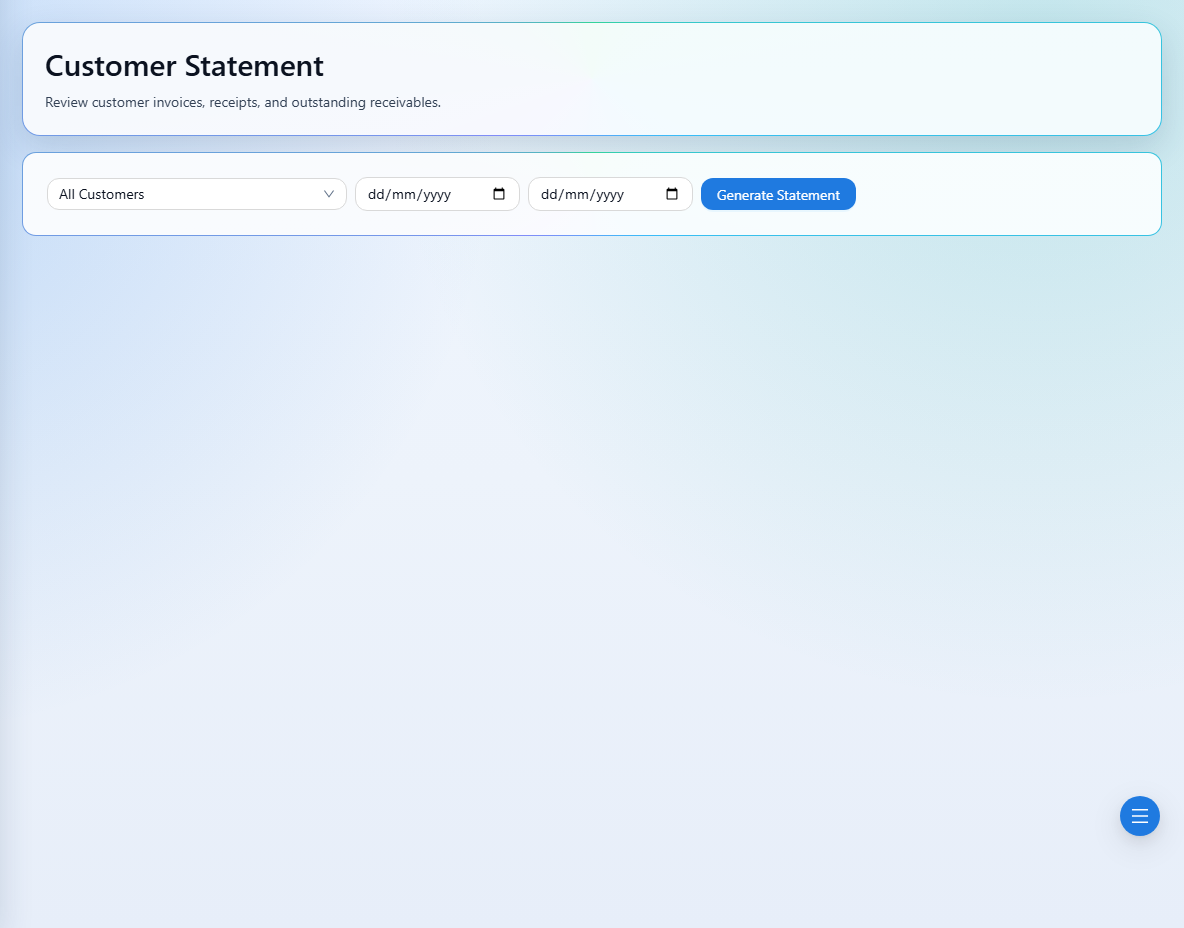
Select a customer, or choose All Customers for the combined view.
- 2
Choose the date filters you need, then select Generate Statement.
- 3
Confirm the customer and review the summary, invoices, receipts, and balance entries shown.
- 4
Compare document references when investigating a receipt, refund, or adjustment.
- 5
Regenerate the statement after changing filters or recording new transactions.
See it in the workspace
Actual portal screens. Private values are hidden where needed. Open an image to see it at full size.
Good to know
Check the date range and customer selection before comparing balances. A refund allocation or invoice adjustment may affect the statement without a new customer collection.
Was this guide helpful?